SilverFast HDR Studio 9
Converting Photographed Color Negatives into Positive Images
2022 © Thomas GadeIndex: From Negative to Positive
MakeTiff and SilverFast HDR Studio 9
SilverFast by LaserSoft is best known as professional scanning software. Individual versions are available for many film scanners. SilverFast HDR Studio 9 is different. This edition (€249) is designed exclusively for processing image files and cannot control a scanner. SilverFast HDR was originally developed for processing the raw image data generated by proprietary film scanners. Conceptually, it dates back to a time when computers were much slower and processing scanned images could take a considerable amount of time. To improve efficiency, the workflow was divided into two steps.
1. Scan the originals and save the raw image files.
2. Batch-process the raw files after scanning.
With today's fast computers, this separation is no longer necessary.
The powerful tools in SilverFast HDR can also be used to convert photographed color negatives into positive images with natural-looking colors. However, SilverFast HDR cannot open digital camera RAW files directly. These must first be converted to TIFF files. While this can be done with an ordinary RAW converter, noticeably better color reproduction is achieved by creating linear TIFF files.
MakeTiff
On the website colorneg.de, Christoph Oldendorf offers his software ColorPerfect. It is designed for converting scanned color negatives, scanned black-and-white negatives, and photographed black-and-white negatives into positive images.A ColorPerfect license currently costs €79.73. It also relies on linear TIFF files created with the companion utility MakeTiff, which can be downloaded from the website. The program may be tested free of charge, but a ColorPerfect license is required for permanent use.
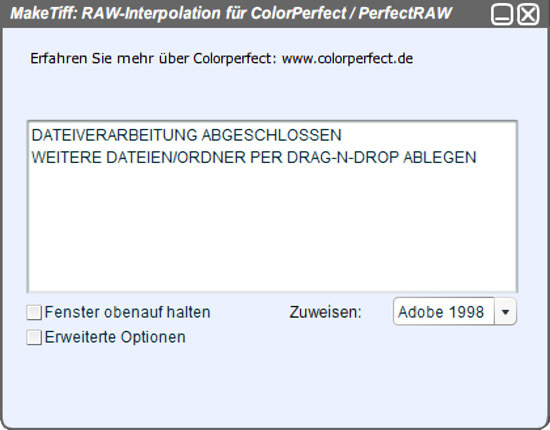
Using MakeTiff is straightforward, but it is still worth reading the documentation on the ColorPerfect website beforehand. In practice, simply copy your RAW files into a folder, start MakeTiff, and drag the RAW files into its window. The program creates corresponding .tiff files in the same folder. If necessary, the extension can be renamed to .tif using a file manager such as Total Commander.
The resulting images should appear very dark with a pronounced green color cast. Their extension is .tiff. This works perfectly with RAW files from my Pentax K-3 II and Pentax K-70. However, files from my Pentax K-5 II are converted as monochrome images. This issue can probably be resolved, but since I now use the newer cameras, I did not investigate it further.
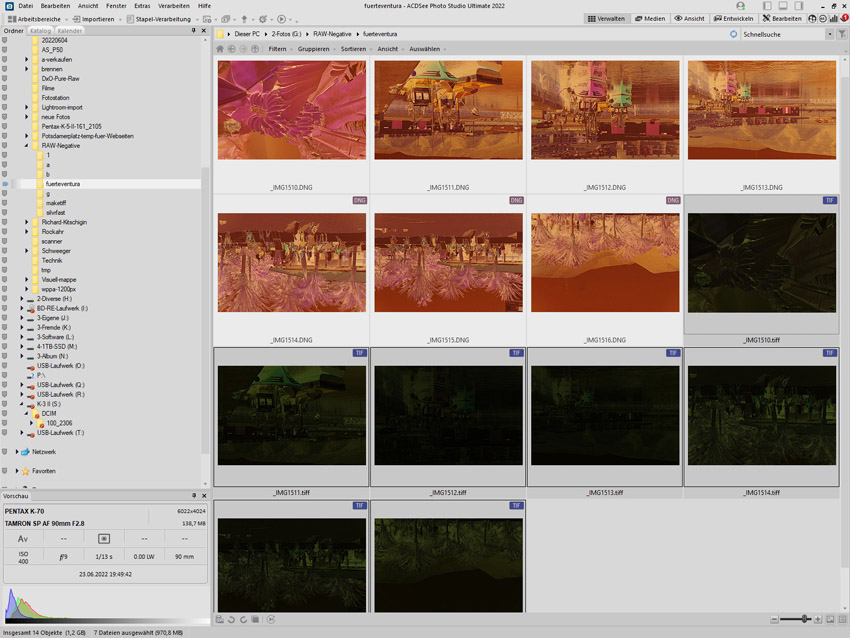
Seven negative DNG files together with their corresponding linear TIFF files in one folder. The difference in brightness is obvious.
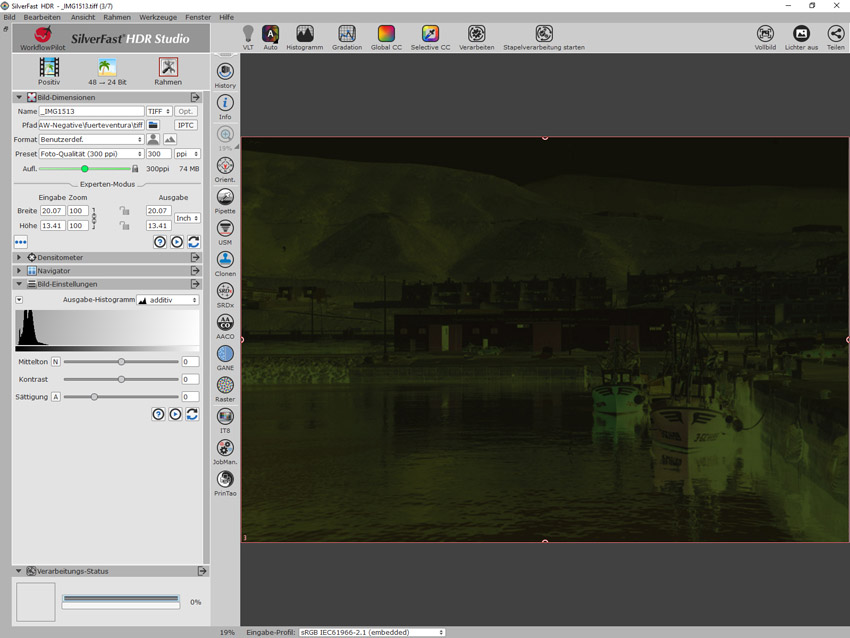
For processing in SilverFast HDR, place the linear TIFF files in a separate folder and open it via the Virtual Light Table (VLT). SilverFast automatically generates thumbnails. Double-clicking an image opens it in the editing workspace. In the upper-left corner, click the Positive icon and change it to Negative. At first glance this may seem illogical, since the goal is to obtain a positive image. However, this setting refers to the source material. Because the original is a color negative, SilverFast must be informed accordingly so that it can interpret the file correctly.
Immediately after switching to Negative, the image is displayed as a positive with very natural colors. Clicking the A/Auto button in the toolbar above the image usually improves the result even further. Only rarely are additional adjustments required. If necessary, the sliders below the Tone Curve can be used for fine-tuning.
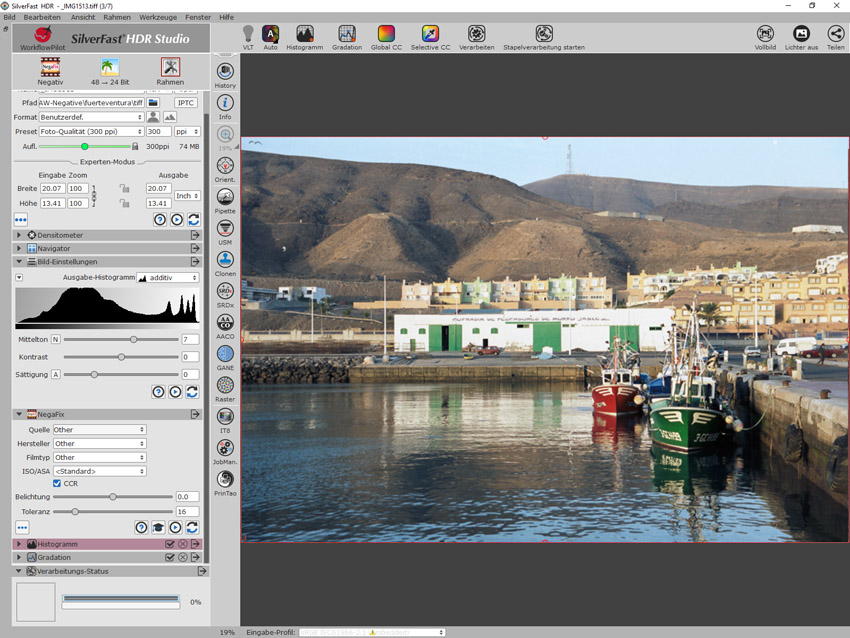
In most cases, simply changing the source type from Positive to Negative is enough to produce an excellent result immediately.
SilverFast's numerous icons and abbreviations can initially be confusing. Sometimes an image also needs to be rotated. For this purpose, use the Orientation button in the vertical toolbar. If you use SilverFast frequently, it is worth memorizing the keyboard shortcuts: Ctrl + 3 selects Negative mode, while Ctrl + 7 rotates the image 90° counter-clockwise.
For efficient processing, select all images in the Virtual Light Table (VLT), right-click, and add them to the JobManager. Double-click the first image to return to the editing workspace while the JobManager remains open as a floating window. All selected images are listed there. Open each image in turn and make any individual adjustments that may be necessary. Finally, start the batch process. SilverFast then creates all output files in the selected format and saves them to the destination folder.
In my experience, this is the most efficient workflow for producing convincing positive images from photographed color negatives.
Achieving comparable results with conventional RAW converters followed by image editing is considerably more difficult. SilverFast HDR generally produces better results automatically. This makes it possible to benefit from the advanced capabilities of professional film-scanning software even when using a digital camera instead of a dedicated film scanner.
- Index: From Negative to Positive
- ACDSee
- Adobe Lightroom
- Adobe Photoshop
- SilverFast
- SmartConvert