ACDSee Photo Studio Ultimate
Converting Photographed Color Negatives into Positive Images
2022 © Thomas GadeIndex: From Negative to Positive
The conversion of negatives into positives with ACDSee was first introduced with ACDSee Ultimate 6. Several years later, the same procedure was repeated using ACDSee Photo Studio Ultimate. Essentially, the workflow has not changed. The Tone Curve looks slightly different, but it works on the same principle and is just as easy to use as before.
Color negative film is not perfectly transparent. Instead, it has an orange or brownish mask that acts like a color filter. Simply inverting the tonal values produces images with a noticeable blue color cast. In addition, the three dye layers of the film do not correspond exactly to the complementary colors of red, green, and blue. Furthermore, film colors fade or change over time. These changes do not occur equally in all three color layers but vary from channel to channel.
For this reason, simply clicking with the gray eyedropper in the Histogram or Tone Curve in Photoshop or similar software is usually not enough to achieve natural-looking colors quickly.
To invert a color negative correctly, we need an image editor with a Tone Curve that can be adjusted separately for each color channel, because the tonal range differs between the individual channels.
ACDSee Photo Studio Ultimate's RAW converter provides an excellent implementation of this feature. The basic steps are as follows:
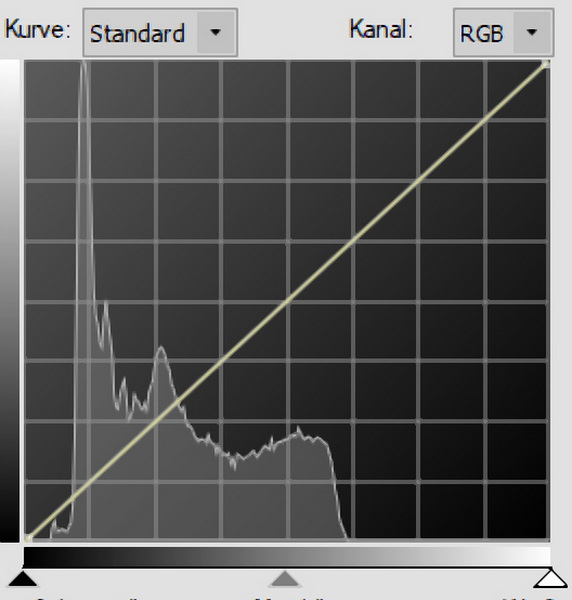
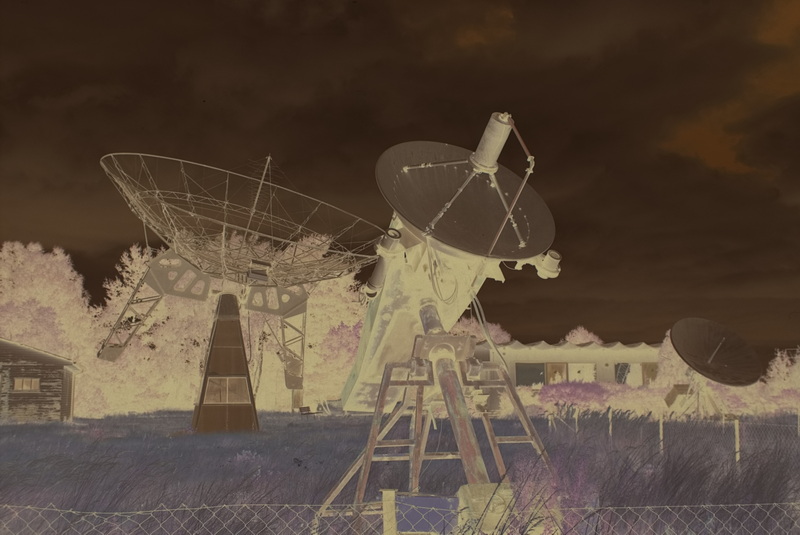
1. Display the Negative with the Tone Curve and Histogram
ACDSee Photo Studio Ultimate includes the necessary tools to crop the image precisely so that no bright border outside the actual image interferes with the Histogram display.
< hr align="left" width="60%">
2. Red Channel
Reverse the diagonal curve and move its starting point on the left exactly to the beginning of the Histogram. On the right, drag the upper endpoint of the curve all the way down to the end of the Histogram. The effect can be seen in the resulting green/red image.


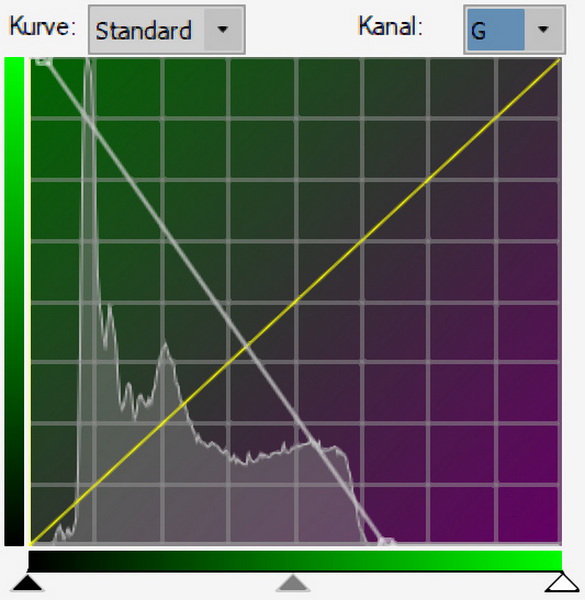
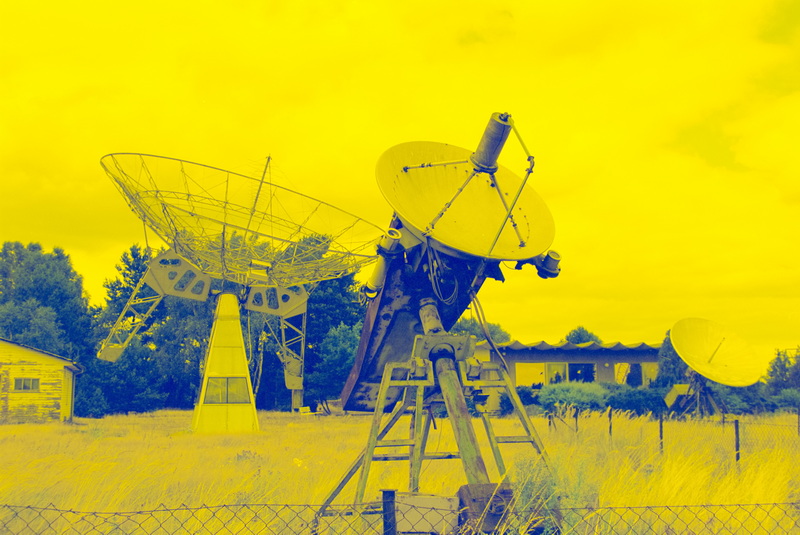
3. Green Channel
Apply the same adjustments to the green channel. The result is a blue/yellow image with an almost artistic appearance.
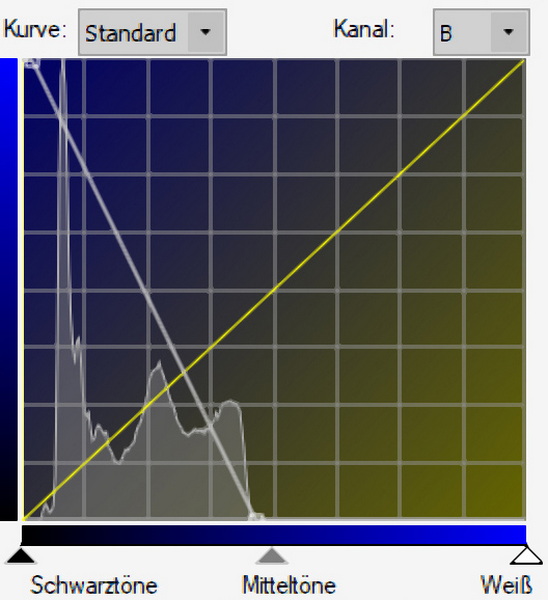
4. Blue Channel
Reverse the Tone Curve for the blue channel as well, then move the white and black points to the corresponding ends of the Histogram.
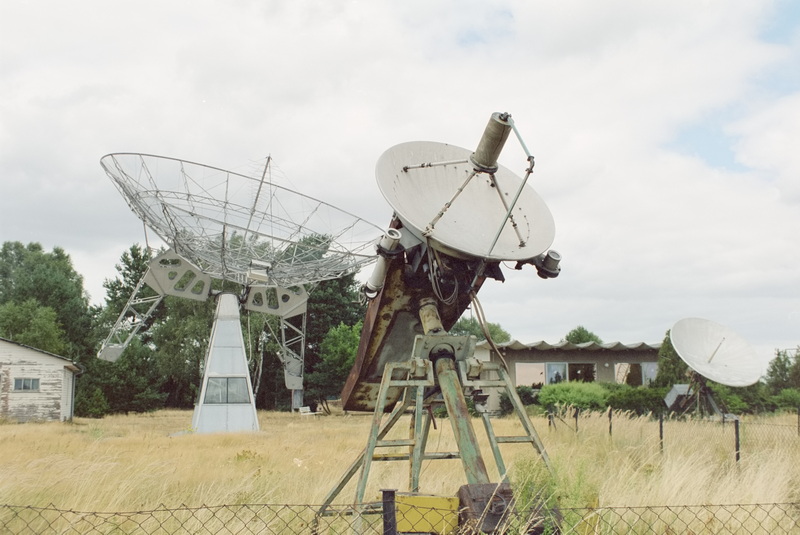
The tonal values have now been inverted, and the positive image becomes visible.
These settings can be saved as a preset for other negatives. If they were shot on the same roll of film and exposed similarly, the preset will usually produce good results for them as well. Individual adjustments can, of course, still be made. Using these settings, the RAW file is converted into a TIFF file. Any further editing is then performed in an image editing program.
5. Further Editing with Adobe Photoshop or Another Image Editor
The tonal values are optimized. Incidentally, ACDSee Photo Studio Ultimate also includes a powerful image editor in addition to its RAW converter, providing all the tools needed for these improvements.
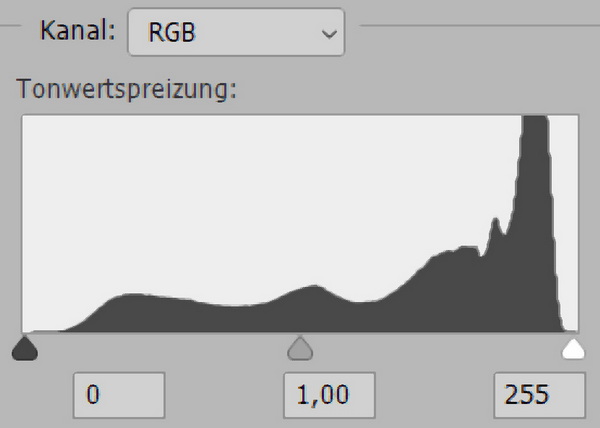
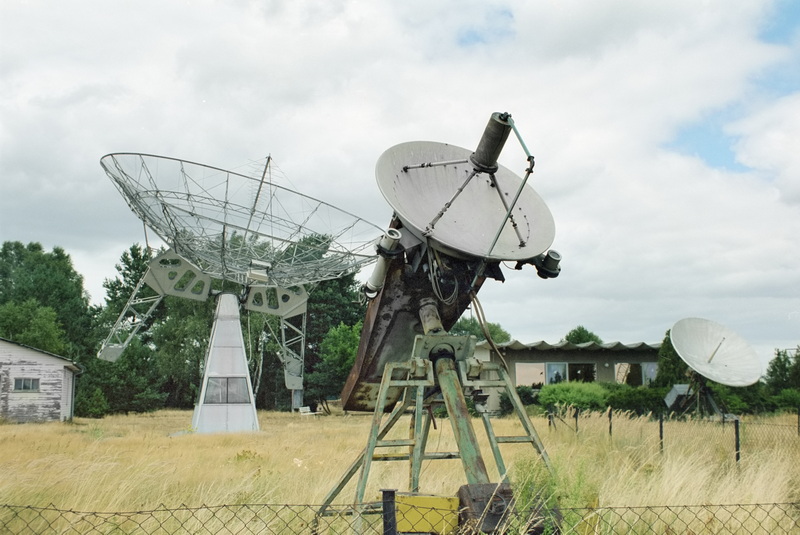
For this type of work, ACDSee's RAW converter has been a reliable and proven tool for many years. Its Tone Curve is easier to use than the one in Adobe Lightroom. After a short learning period, the workflow becomes fast and efficient.
As with the earlier version, saving your settings as presets is highly recommended. This can simplify the workflow considerably. The procedure is explained on the first page about converting negatives into positives with ACDSee, so there is no need to repeat it here.
ACDSee is compatible with several Adobe Photoshop plugins. However, I have not tested whether the Grain2Pixel or Negative Lab Pro plugins for negative conversion also work with ACDSee Photo Studio Ultimate. If anyone has tried this successfully, I would appreciate hearing about it by email (see the imprint/contact page).
- Index: From Negative to Positive
- ACDSee
- Adobe Lightroom
- Adobe Photoshop
- SilverFast
- SmartConvert